I finished the pilgrim and indian costumes by 4 am on Wed. I got tired and didn't have time to put them on my blog. I got up early Thurs. morning found a small amount of black fabric and decided to whip of a dress. I didn't take pictures as I went but I can tell you how I did it. 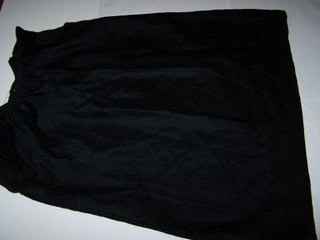
 This should fit my DD for a very long time yet. I used 1 piece of black fabric 19 inches wide and about 44 inches long. I folded it in half the fold is the neck area. I cut a hole in the center of the fold 9 1/2 inches wide it dips down about 1 1/2 inches in the front and the back of the neck just went straight across. You can just cut a hole large enough for the child's head. I left 5 inches on each side for her arms and sewed up the sides. I then turned under the 10 inch (5 front and back) of the armholes and seamed along. 1 inch black FOE was added at the neck and that was it. I spent about 5 maybe 10 minutes and it was all done.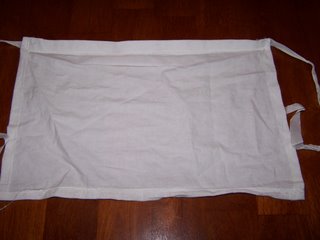
This should fit my DD for a very long time yet. I used 1 piece of black fabric 19 inches wide and about 44 inches long. I folded it in half the fold is the neck area. I cut a hole in the center of the fold 9 1/2 inches wide it dips down about 1 1/2 inches in the front and the back of the neck just went straight across. You can just cut a hole large enough for the child's head. I left 5 inches on each side for her arms and sewed up the sides. I then turned under the 10 inch (5 front and back) of the armholes and seamed along. 1 inch black FOE was added at the neck and that was it. I spent about 5 maybe 10 minutes and it was all done.The apron was a piece of fabric about 16 inches wide and 11 inches long. Sewed around 4 sides and added ties (same thing the bonnet ties are). Very simple.
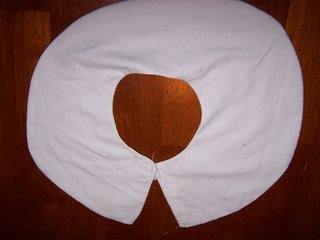
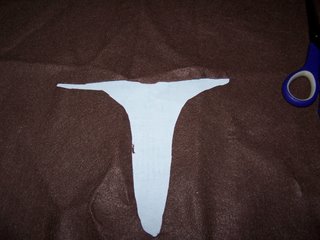
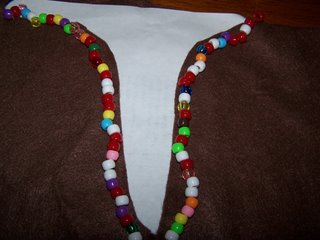
The collar isn't pretty! BUT it did work OK. This was what I was working on at around 3 am (my excuse for being ugly). cut 2 circles (mine was more like ovals) 13 inches around and another circle in the center about 5 1/2 inches. Then just a large upside down V to make the shape. I sewed around the entire thing leaving a hole to turn. Turn then sew the hole shut. I added a little velcro to hold it shut in the front.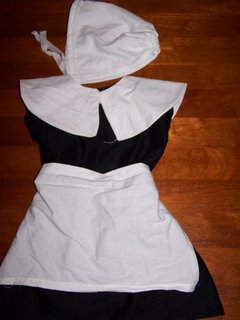 This is the full costume. It was so worth staying up to do. My DD LOVES it! I feel good knowing was able to do something for her like I did for her brother when he was her age. KWIM?
The collar isn't pretty! BUT it did work OK. This was what I was working on at around 3 am (my excuse for being ugly). cut 2 circles (mine was more like ovals) 13 inches around and another circle in the center about 5 1/2 inches. Then just a large upside down V to make the shape. I sewed around the entire thing leaving a hole to turn. Turn then sew the hole shut. I added a little velcro to hold it shut in the front.
This is the full costume. It was so worth staying up to do. My DD LOVES it! I feel good knowing was able to do something for her like I did for her brother when he was her age. KWIM?

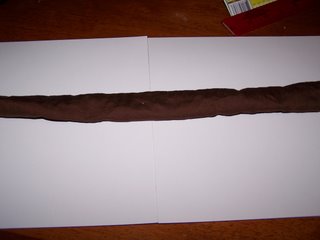
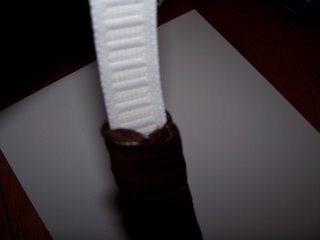 Sew ends together.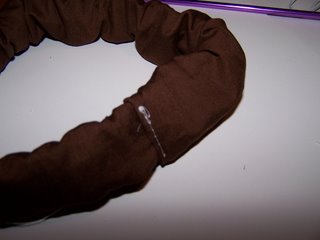
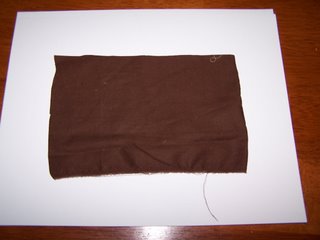
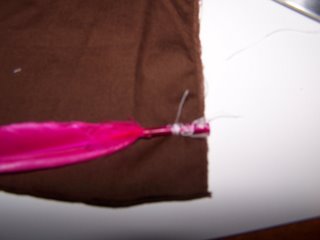
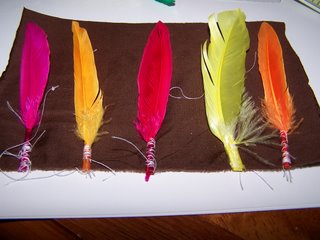
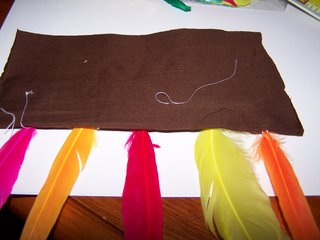

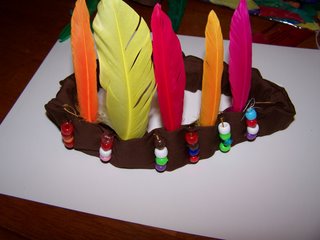
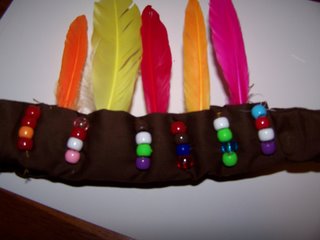 It is very late and I am in a rush so if this is hard to understand just email me at

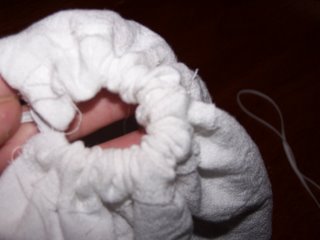
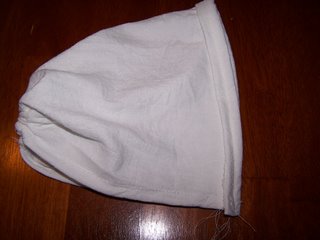
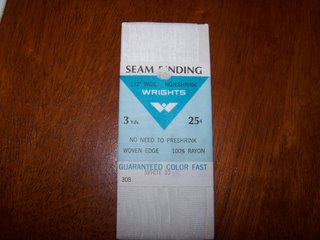
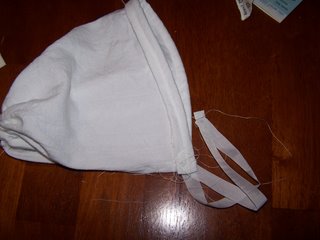
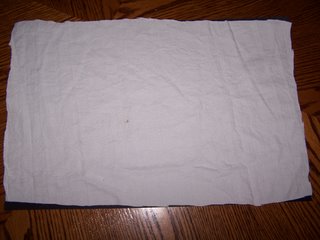 Very fast pilgrim girl bonnet..... I cut out a piece of fabric 12 X 18 inches. This was large enough for me (an adult to wear). The next hat I do will hem around the outside first this one I did it as I went along.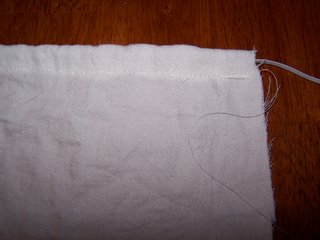

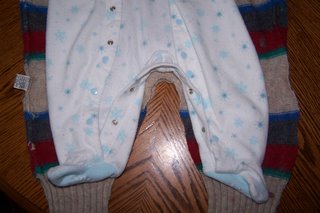
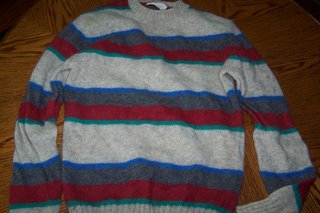 The sleeper is one that still fits my dd it is size 9 months and she is 15 months old but only 18 pounds. The sweater is about 3 inches longer than the sleeper.
 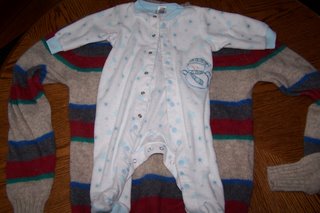 I cut off the arms and used a sleeper as a guide for the crotch. I used the waist of sweater to make the leg cuff.
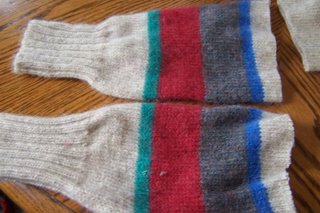
  I cut off the end of the arms (used the sleeper for the size measurement).
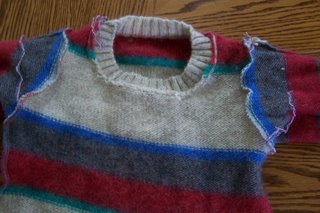
 I cut the shoulder on the sweater down to the size the sleeper was. I did take the neck in a tiny bit (my dd has a large head). I want to learn how to use my serger so my stitches might not look nice I am still learning how it works. A sewing machine would have worked.
  I surged the along the open legs to keep it from fraying The only spot I attached the front to back in the legs was the bottom cuffs. I can get my dd in and out to put on potty or diaper change easy with the cuffs together.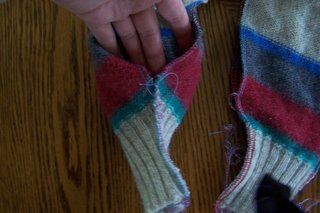
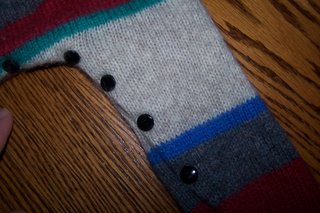 I turned in the serged edges (enough to stick the snaps in 2 layers.) I added snaps to close the legs. I turned up the cuffs on the wrist and ankles (until my dd grows some). I am sorry my pictures are so dark. It was dark and raining when I did this. My dd was taking a nap not far from me so I didn't turn on the lights. I used the flash but the pictures still look kind of dark.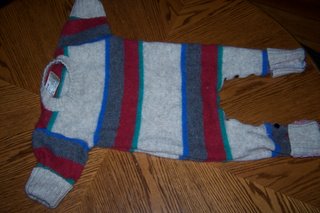
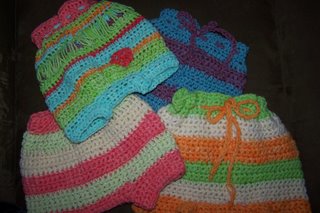
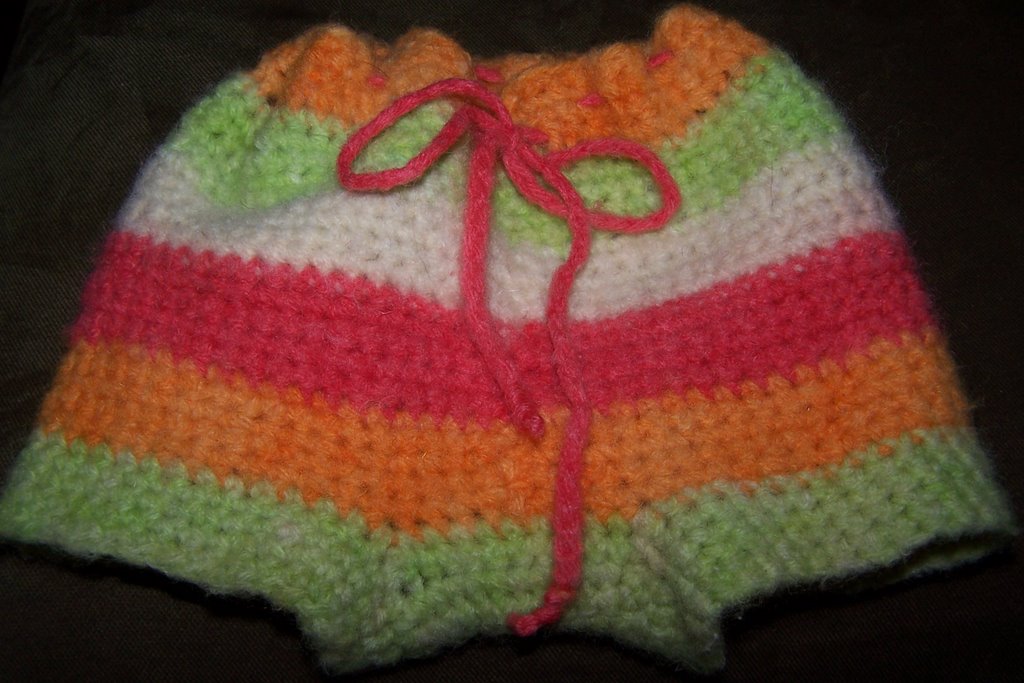
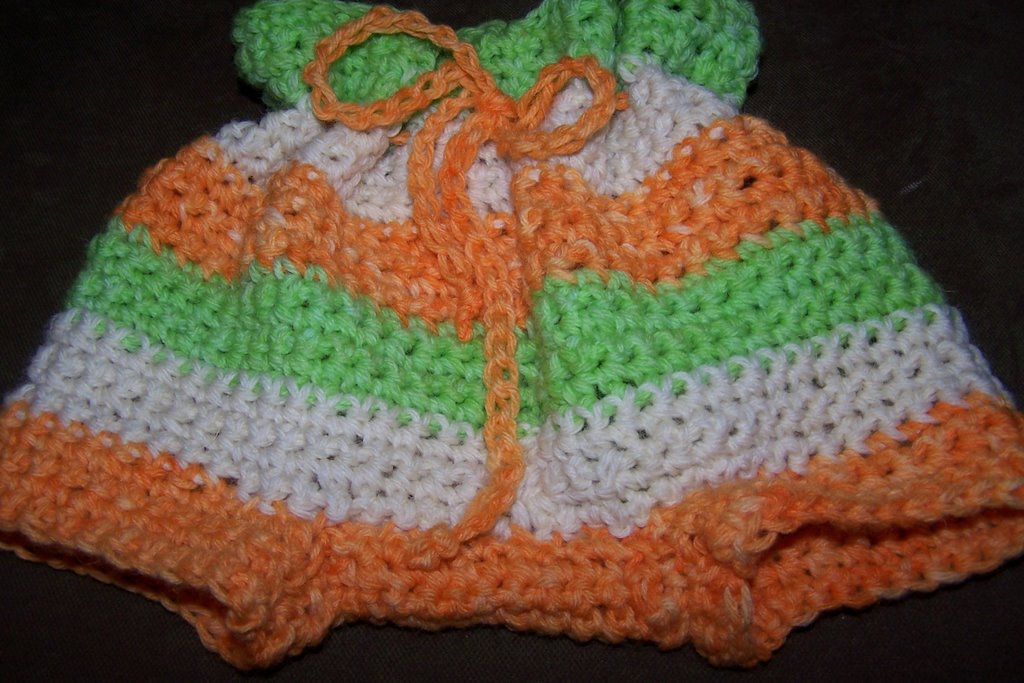
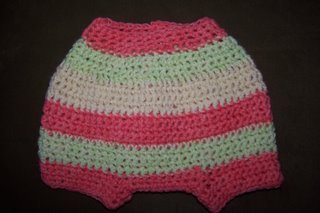 The short in the picture above is one I made up the same way I did the orange, green, and off white shorts. I just skipped every other or every third stitch (not sure I didn't write it down) to bring in the top. I like look with the front tie so if I do ever use this pair of shorts I might add in the tie just for looks. My DD is very thin she might need the tie to help keep them up.
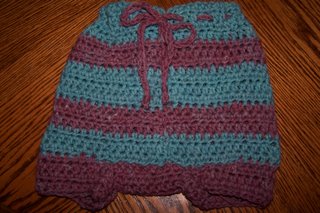 This pair I did in half double crochet. Same pattern just less rows. I made it to the same length as the others.
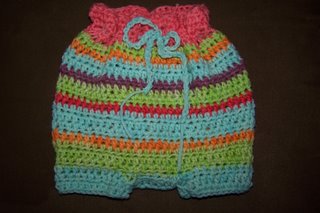 This one took the longest but was the most FUN to make. I finished it up last night. I used all my last bits of yarn in a random order. I used a half double crochet stitch and make it the same as all the others. Above is the front view. Below is the back view. I added some green fringe trim and a peace sign. I think it looks better in person than in the picture. I think it looks FUN.... I haven't showed it to my DH yet. I have a feeling he won't like it at all. It isn't his style.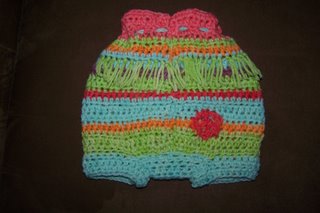
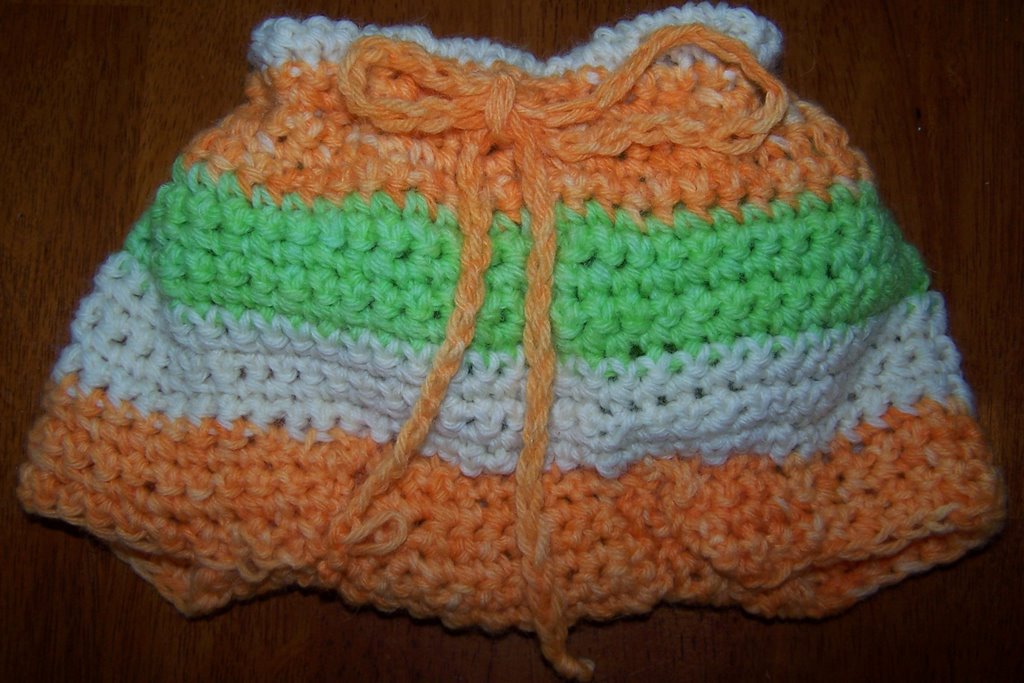
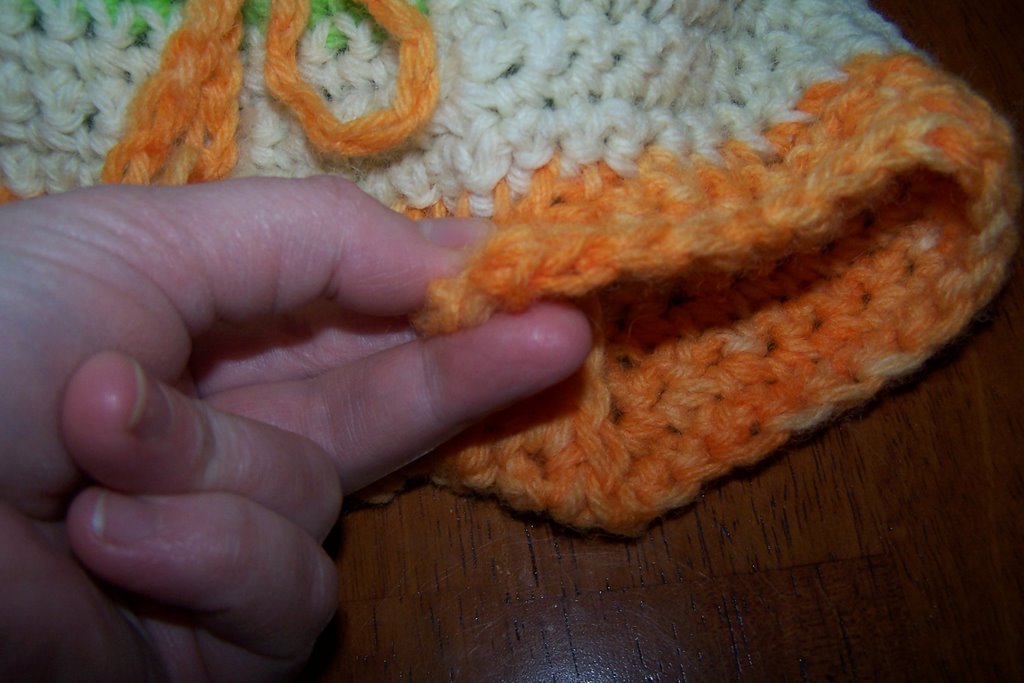
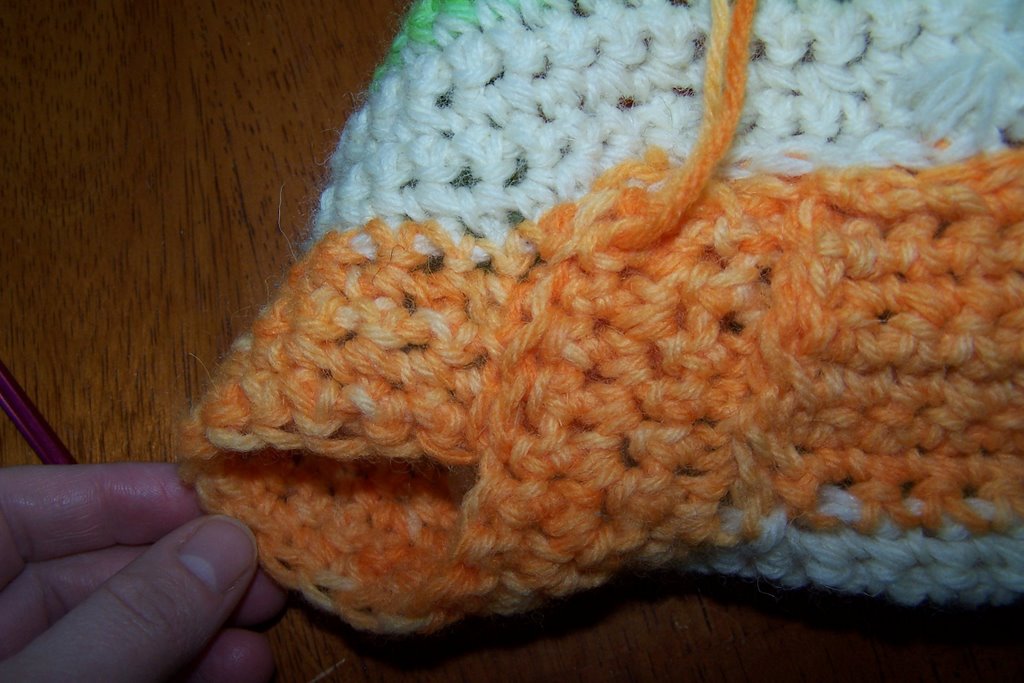


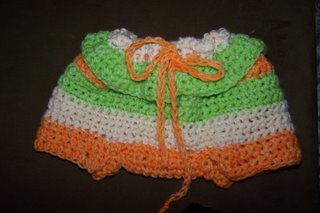
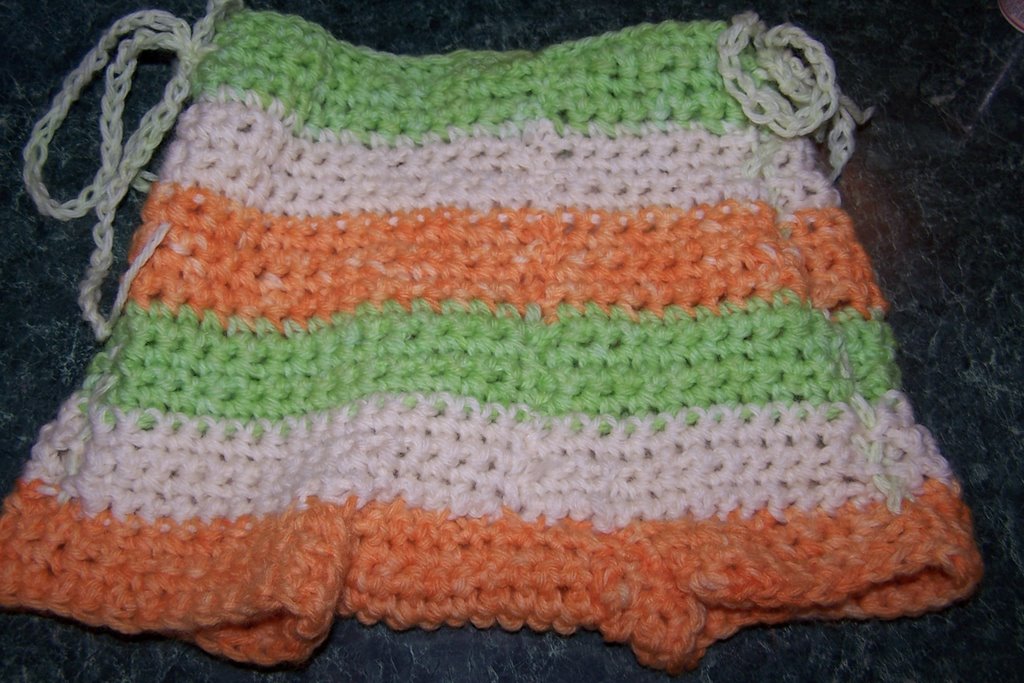
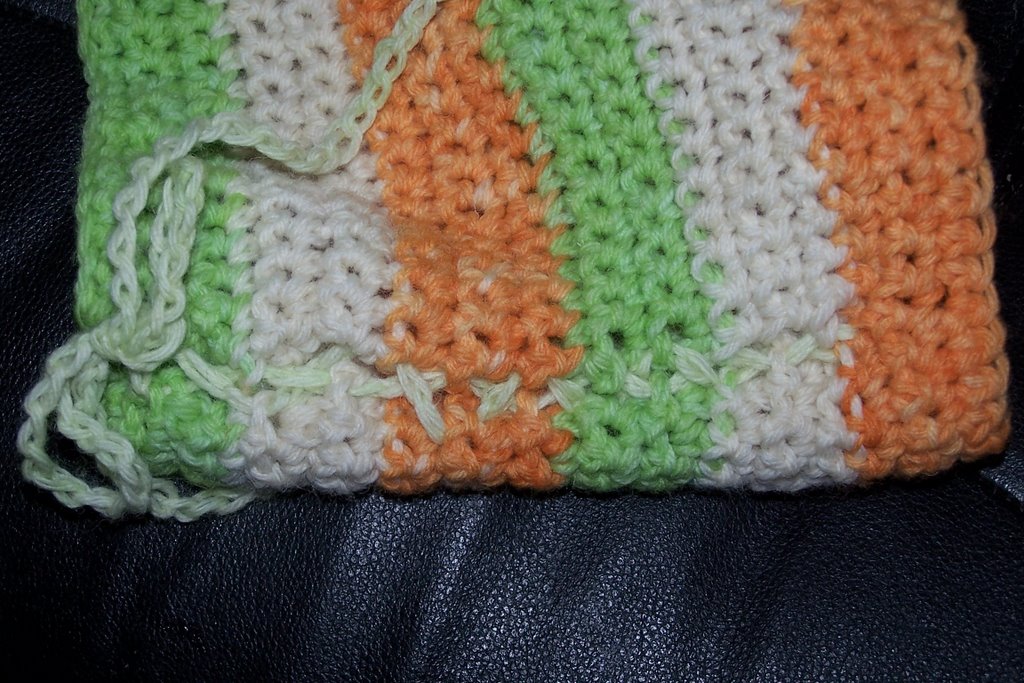


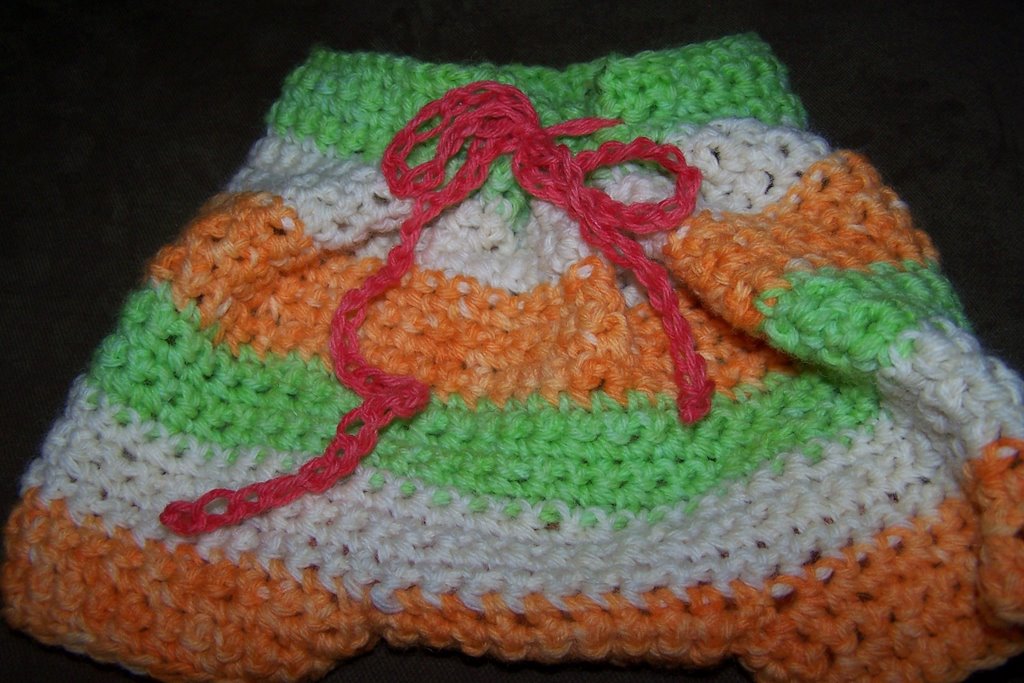
 The one below is NOT the same shorts above but it was made with the same pattern. I felted this one. It still fits my almost 15 month old DD. I should tell you she is very small for her age. She just hit 18 pounds. She is in the bottom 5th percentile for her age. It is getting a little low in the rise. If I felt another for her I would add another 5 row stripe first. She is very thin if she was a chunky baby like my son was I would have to add a lot of stitches to make it wider.